Office Printing & Scanning
How to print
- Make sure you are on the correct network. SSID should equal “Overcomers”
- Click on the “3 dots” in the upper right corner of the Chrome browser and select print (or hit Ctrl+P).
- Select the printer - HP Color Laserjet Pro MFP …
If the printer doesn’t appear, try the following steps:
- Check you are on the correct WIFI on your laptop
- Toggle the WIFI on the Chromebook on/off. If that doesn't work, restart the Chromebook.
Please email admin@overcomewithus.com if, after trying these options, the printer does not appear as an option.
How to scan (Scan to Email)
- Place the documents face-up in the top feed of the printer.
- Select Scan
- Select Scan to Email
- Select To:
- Select your name/email
- Select Scan
- Your scan will be sent to your email address as a PDF attachment.
Troubleshooting
Printer Power Troubleshooting
If the printer doesn’t turn on, try these steps:
- Unplug from printer
- Unplug from wall
- Wait 30 seconds
- Plug cord into the printer
- Plug into the wall outlet (surge protector)
The printer is not powering on
- Unplug the printer power cord from the wall
- Test the wall outlet with another device to make sure you have power
- If you got power at the wall outlet, continue.
- With the power cord unplugged, press and hold the power button for 15 seconds and do this 3-4 times.
- Unplug the power cord from the back of the printer
- With the power cord unplugged on both ends, wait 45 minutes!
- Plug the cord back into the printer
- Plug the cord back into wall
- Turn on
Printer Doesn’t Appear in “See More” Printers
Try each of the steps below if you don’t see the printer in the “See More” printers area on the Chromebook.

- Make sure you’re connected to the correct network. If you have 2 network options at the office, try them both.
- Toggle OFF the WIFI on your computer, wait 30 sec, then toggle ON.
- Make sure you’re connected to the correct network. If you have 2 network options at the office, try them both.
- Toggle OFF the WIFI on your computer, wait 30 sec, then toggle ON.
- If that still doesn’t work, toggle OFF the network on the printer and then toggle back ON.
- Clear the browser cache.
- Open up a new “Incognito” tab and hit Ctrl+P to try and print and see if the printer is there.
- If it is, there’s a Chrome Extension blocking connection to the printer. Remove/disable each Chrome extension and try to print while disabling each one to find out who the culprit is. Also try clearing browser cache
Printer Selected But Error Received “Error Printing”
Follow these steps when you see the available printer in list of printers but you receive an error when trying to print.
- Make sure you're connected to the correct network.
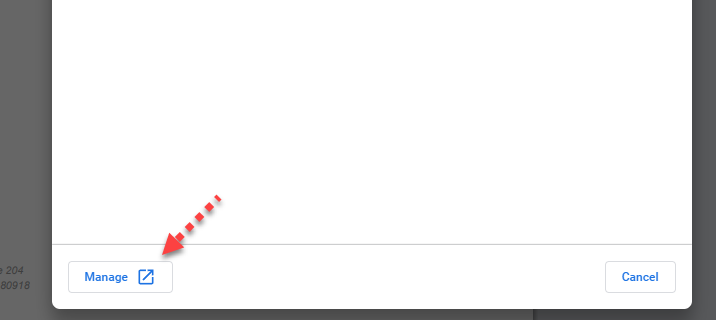
- Remove the printer by clicking “Manage” and then find and remove the printer.
- Go back to the main page and click “See More” printers, wait 30 seconds, to see if the printer reinstalls.
Scanner/Copier Makes Lines on Paper
If you scan something and vertical lines show up, it usually means a small amount of ink/debris is on the scanner glass. Check out this video to clean the glass:
Scanning Not Working (Wrong Username & Password)
Follow these steps to get the scan-to-email to work.
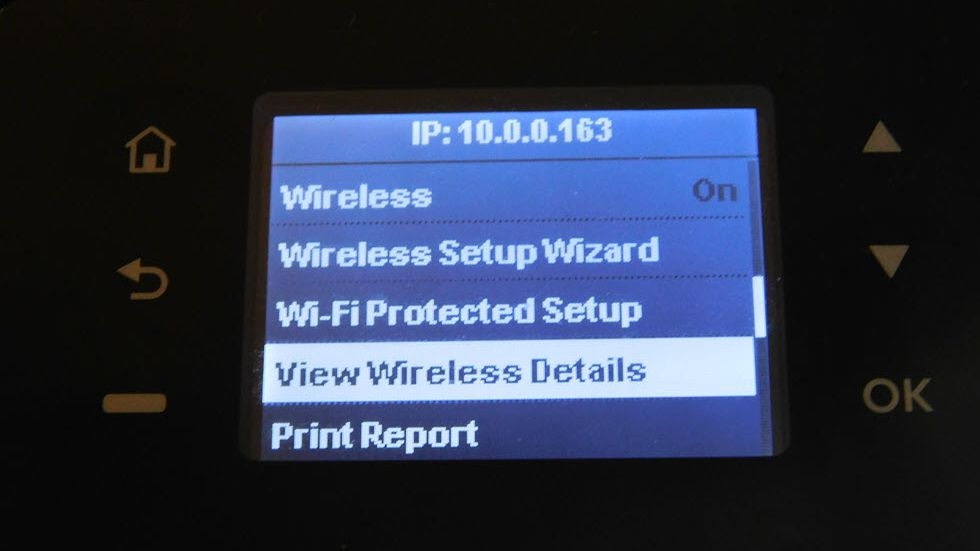
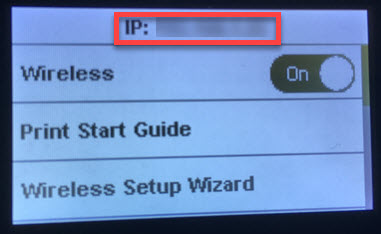
- Go to the printer and click on the “Wifi” to get the IP Address. In this screenshot, the IP address is https://10.0.0.163. Yours may be completely different.
- Back on your computer (make sure you’re connected to the same network the printer is), enter in the IP Address you found.
- Try http:// and if that doesn’t work try
- And https://
- Now you’re logged into the setting of the printer.
- Click on Scanning and then Outgoing Email Profiles
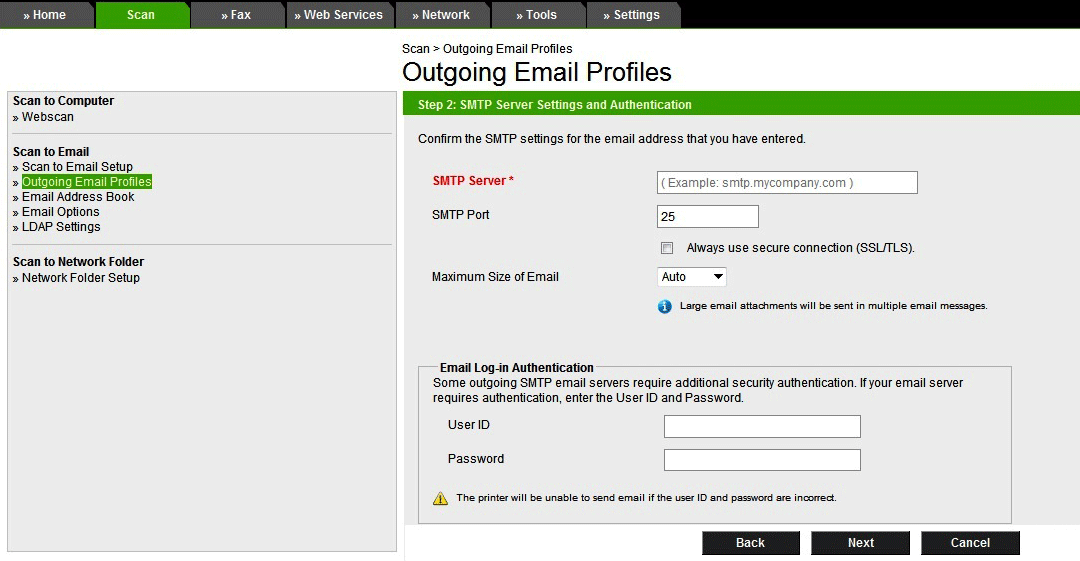
- The email Login Authentication is what is causing the problem and you’ll need to enter in a different password than the one listed.
- Latest Password: icmdvfdkhbyrtaoc
- After the password is entered, save and close.
- Done!
Error 79
If you attempt to print and the printer shows error 79 and then shuts down and turns back on, this is a network issue. This happens when a ‘jamb’ occurs when multiple people on the network are trying to print. Here’s how to fix:
- Turn off the printer
- Make sure there are no pending docs in the printer queue on anyone's computer.
- Unplug the network cable (it’s in the back, most of them are yellow)
- Turn the printer back on
- Try making a copy
- Plug the network cable back in (while the printer is on)
- Try printing from your computer now (like you normally do).
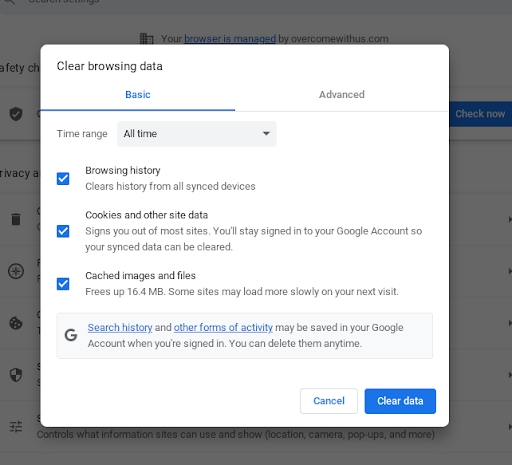
- Open up Chrome on your computer and use the shortcut key, Ctrl + Shift + Backspace and then click “Clear All Data”. Time Range should equal “All Time”.